
You built something amazing.
Help people understand it.
Your GitHub repo is powerful — but the README assumes expertise. Repo Explainer turns it into a visual walkthrough anyone can understand, plus an AI knowledge base that makes your assistant an instant expert.
npx repo-explainer https://github.com/owner/repo
Run it in one line · uses your own Anthropic key · or grab the Claude Code plugin ↓
Built with Repo Explainer
Two artifacts, both quality-gated
Every repo produces a website that teaches you, and a smart zip that teaches your AI. Neither is optional. Both pass 5 quality gates before shipping.

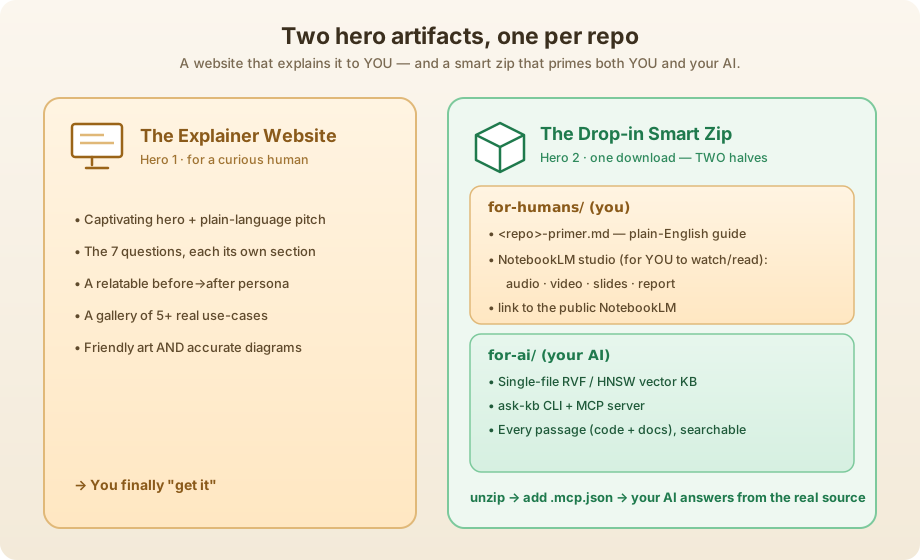
The Explainer Website
7 structured sections answering the questions newcomers actually ask: Why built? What problem? Why now? How it works? What solved looks like? How to implement? How to start? Opens with visuals, not walls of text.
for-humans/ half
A written guide + Google NotebookLM studio: an audio walkthrough you can listen to, an explainer video, a slide deck, and a written report. The fastest way to understand any project — each notebook is public.
for-ai/ half
A searchable vector knowledge base built from every file in the repo — runs locally on your machine, no API keys needed. Plus a command-line tool and a Model Context Protocol (MCP) server so your AI assistant can answer questions from the real source code.
Audio & Video Studio
Every explainer includes a public Google NotebookLM notebook with an audio walkthrough, explainer video, slide deck, and written report. One link opens all the media — play the audio first, it's the fastest way in.
Visual-first design
Every section opens with a friendly illustration AND an accurate architecture diagram. Two tiers of visual: an approachable on-ramp for newcomers + technical precision for engineers.
All links public
Every URL opens without login. No gated downloads, no auth walls, no Vercel lock-in. The zip, the site, the repo, the studio — all freely available.
From dense README to visual explainer
Watch a real GitHub repo go through the Repo Explainer pipeline and come out as a rich, visual companion page.
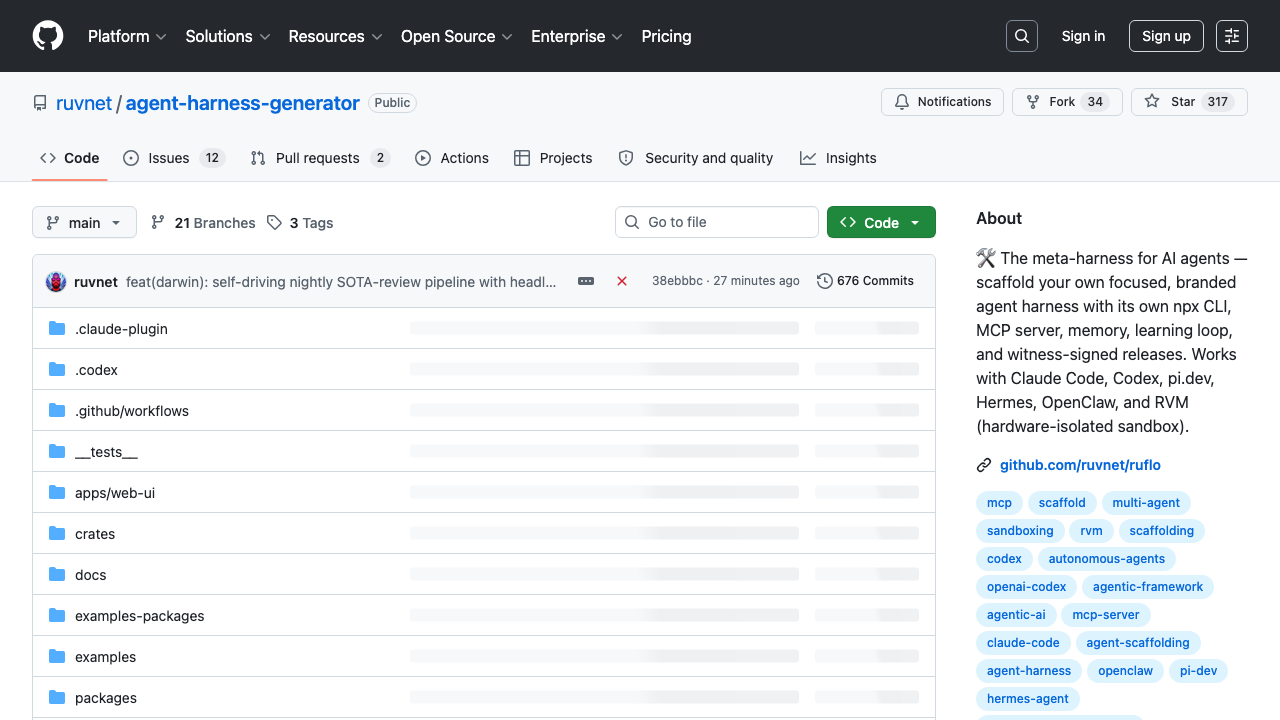
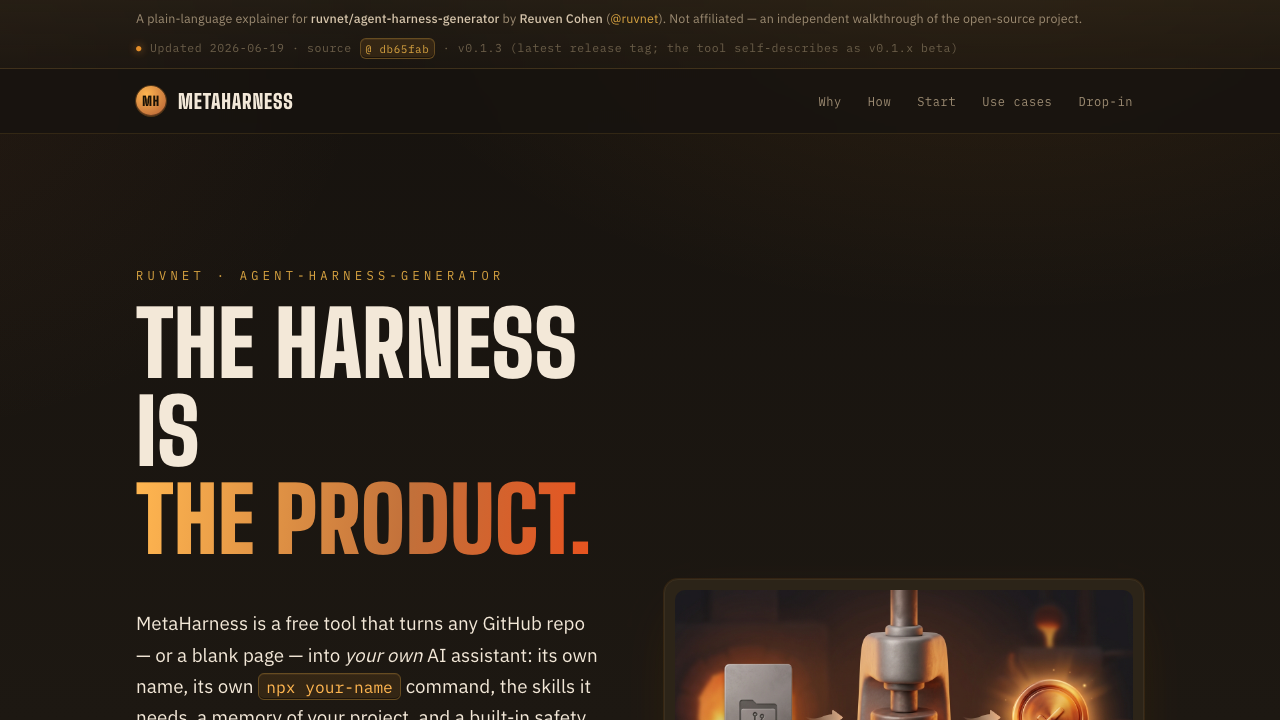
Click either screenshot to visit the live page. The entire process takes 5–10 minutes per repo.
Explainers we've built
Click any card to visit the live explainer. Each started as a dense GitHub repo.
MetaHarness
Mints your own branded AI agent from any repo. By @ruvnet.
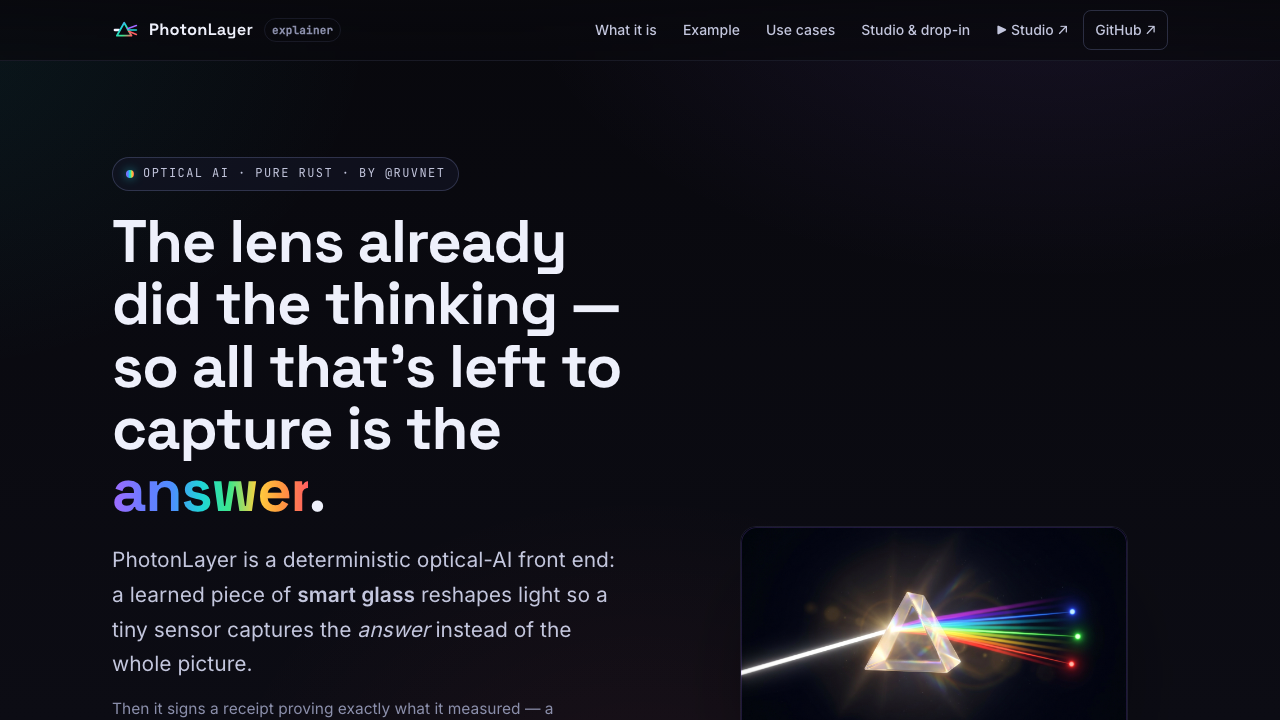
PhotonLayer
Deterministic optical-AI: light computes the answer. By @ruvnet.
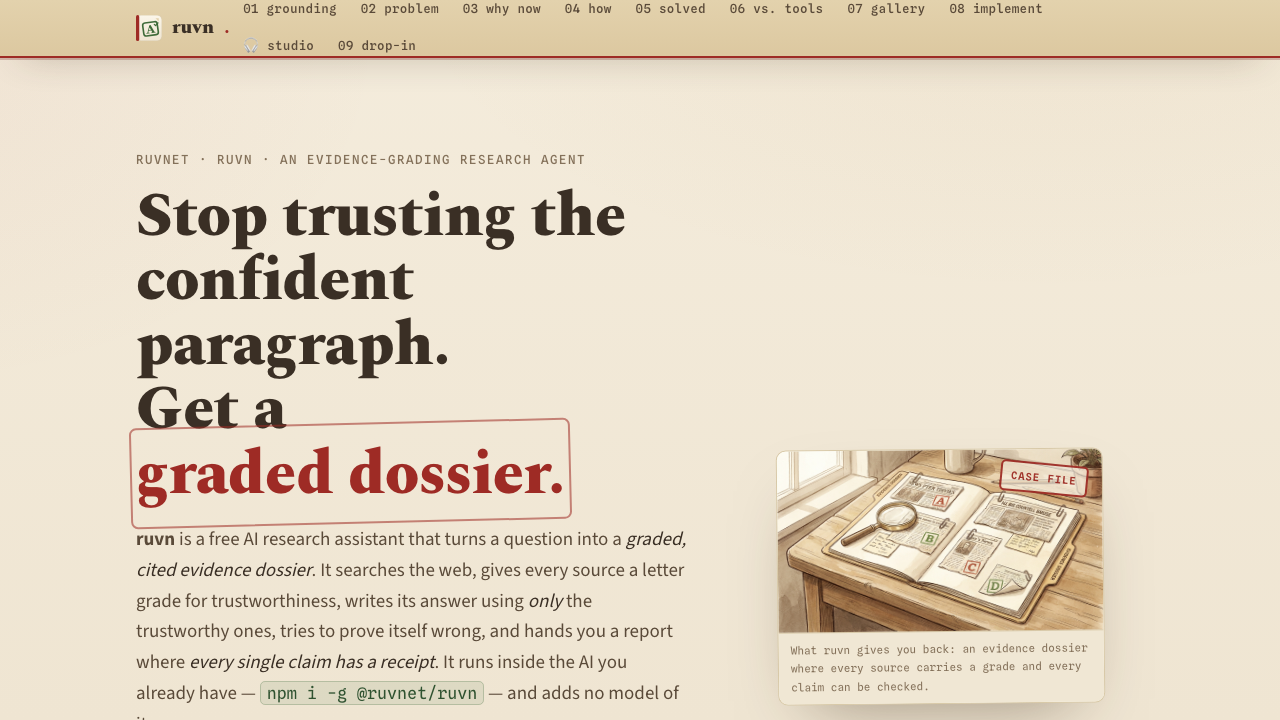
ruvn
AI research engine: graded, cited evidence dossiers. By @ruvnet.
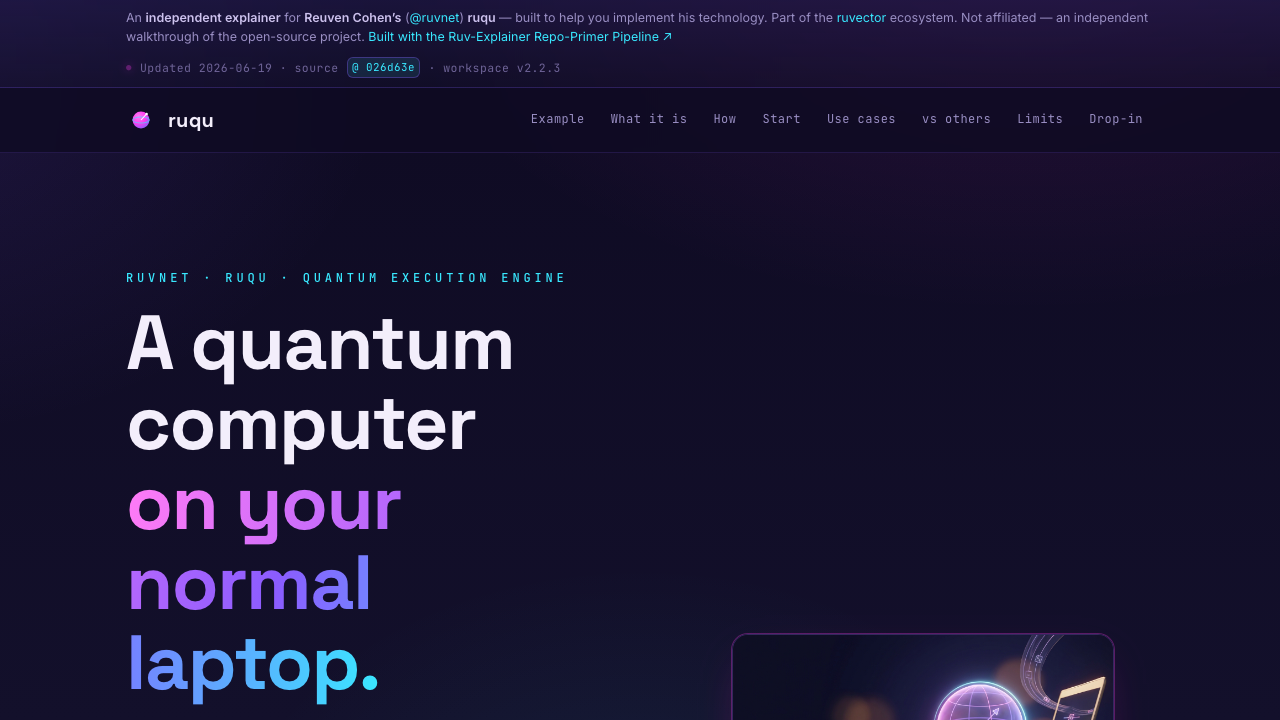
ruqu
Quantum computing in your browser via Rust + WASM. By @ruvnet.
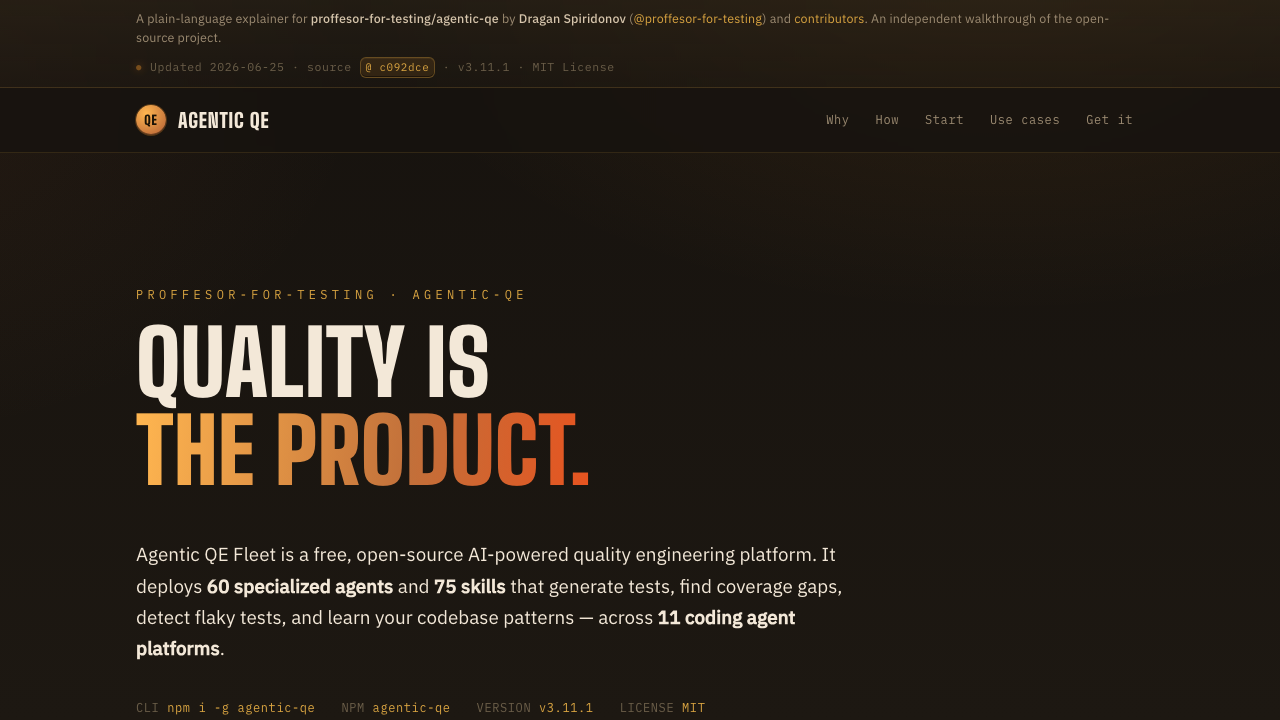
Agentic QE Fleet
60 AI agents for quality engineering. By Dragan Spiridonov.
How it works — the Repo-Primer Pipeline
A repeatable recipe: ingest, build, gate, deploy. The same pipeline that built every explainer above.
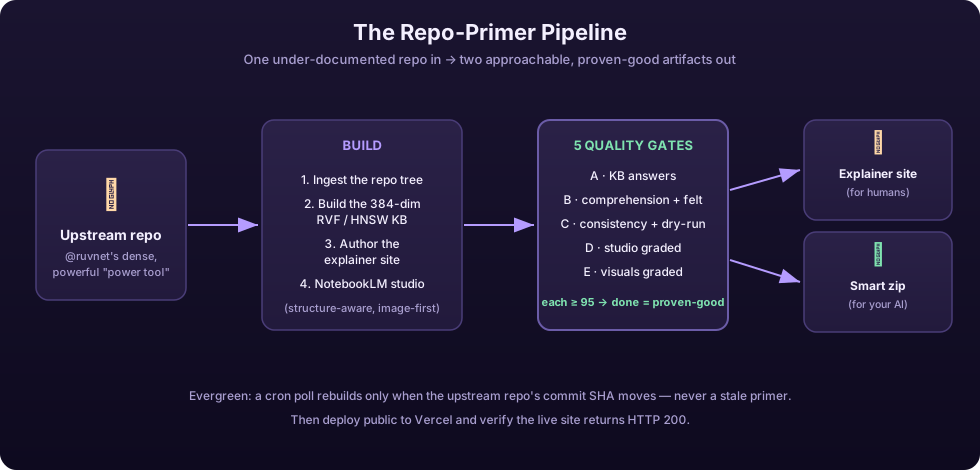
Ingest
Read every file the author actually wrote. Skip third-party dependencies. Split content intelligently at function and section boundaries.
Build knowledge base
Every file in the repo is read, chunked, and embedded into a searchable vector database — runs locally, no API keys required.
Author site
Image-first explainer with dual-level visuals: friendly illustration + accurate SVG diagram in every section.
Build studio
Google NotebookLM generates an audio walkthrough, video, slides, and written report — all public, one link opens everything.
Gate & deploy
Run all 5 quality checks. Deploy to its own GitHub repository + live website. Verify the site actually loads. Record the build journal.
5 gates — "done" means proven-good
"Done" never means "the files exist." It means every gate scored >=95, with evidence. The headline score is the lowest gate.
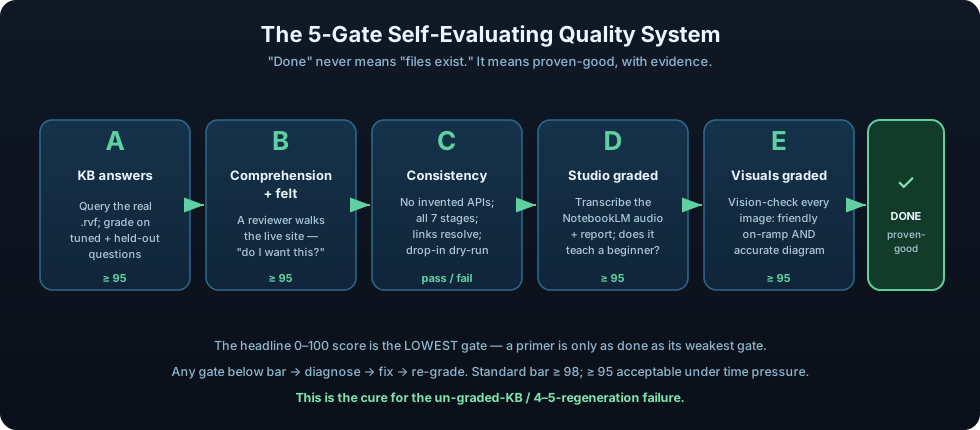
A — Knowledge Base Answers
Ask the knowledge base real questions and grade how well it retrieves the right passages and answers correctly from the source. Score must reach 95+.
B — Comprehension + Feel
A reviewer walks the live site as a newcomer and answers three honest questions: Does this impress me? Does it invite me in? Does it make me want to use it? A "no" is a fail.
C — Consistency
Every claim matches the real code. All 7 sections are present, at least 5 use-cases shown, every link works, and the download actually loads and returns a correct answer. Pass/fail.
D — Studio Graded
The audio walkthrough and written report are transcribed and actually read — never assumed good. Graded for clarity, comfort, confidence, and completeness. Score must reach 95+.
E — Visuals Graded
Every image is checked by an AI vision model. Must include both a friendly illustration for newcomers AND an accurate architecture diagram true to the source code. Score must reach 95+.
Weakest Link Wins
Your overall score equals your lowest gate — no hiding behind averages. Standard bar is 98+; 95+ is acceptable under time pressure. Below that? Diagnose, fix, re-grade until it passes.
Build your own
One brain, two doors — pick whichever you live in
Door 1 — npx, works for anyone. Zero install. Runs anywhere Node does, using your own Anthropic key. Point it at any GitHub repo and walk away.
npx repo-explainer https://github.com/owner/repoDoor 2 — the Claude Code plugin. Install once; then it's a keystroke away inside Claude Code.
/plugin install repo-explainer
/repo-explainer https://github.com/owner/repoWhat makes a good explainer
Image before text
Every section opens with a visual. The picture explains; the words add detail.
Human problem first
Start with the pain. Then the fix. Features last.
Define terms inline
If a reader might not know a word, explain it right there.
Honest limits
Every tool has rough edges. Say so plainly.
All links public
No login, no gated downloads, no auth walls.
Credit the builder
Prominently attribute the repo author.